
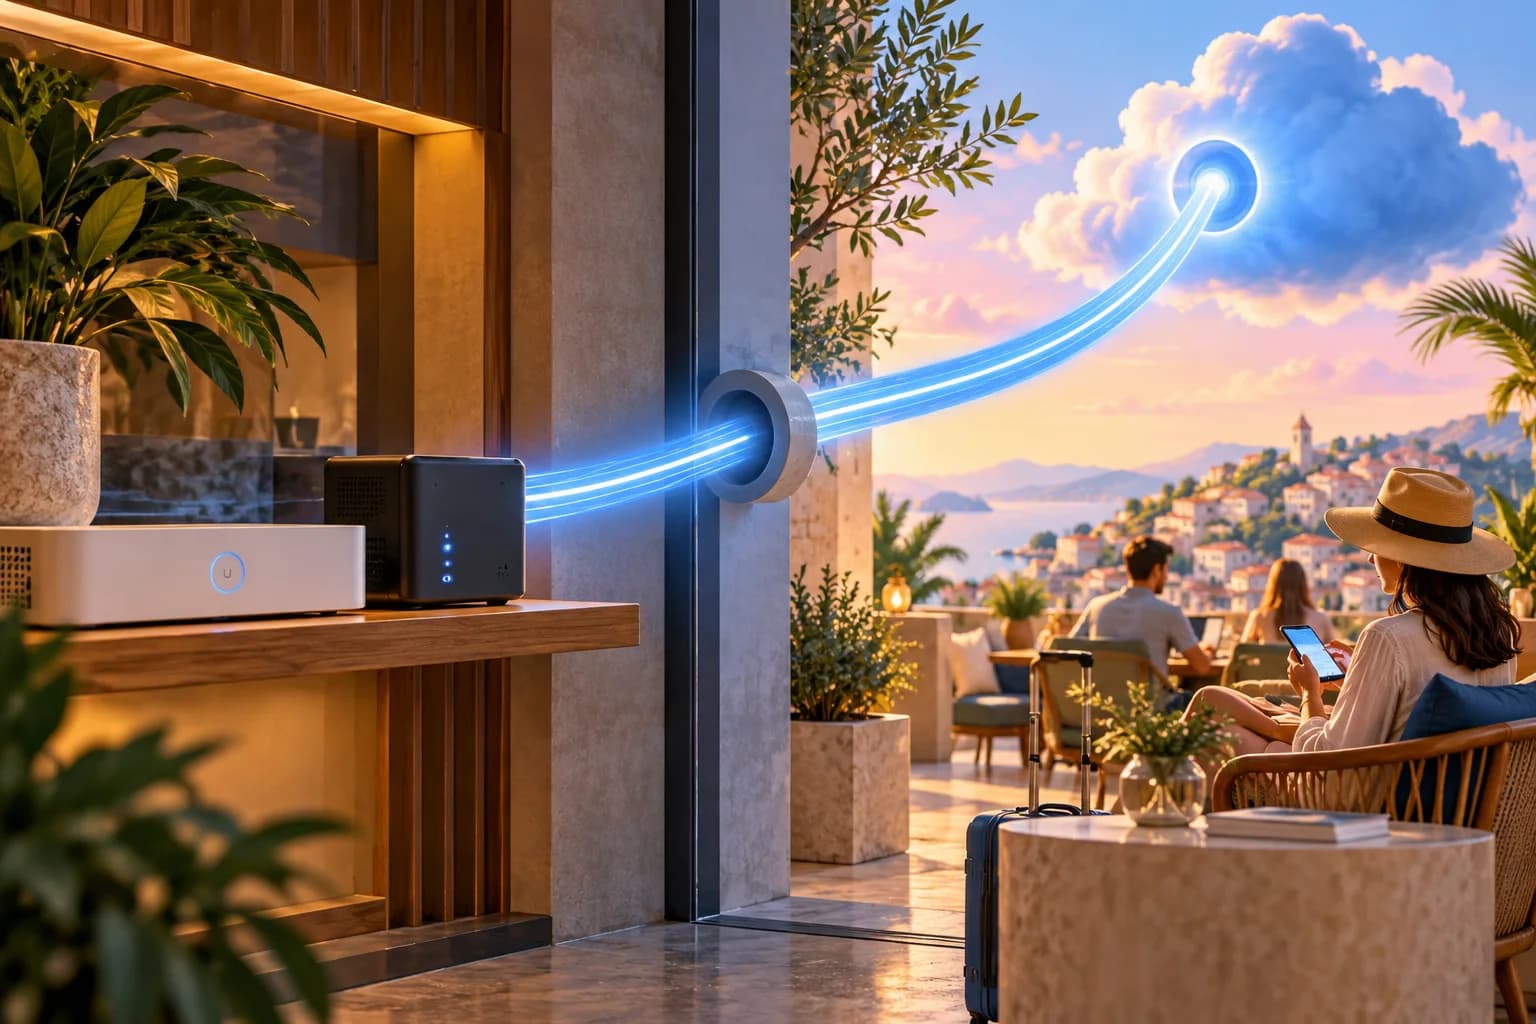
The Problem: Your Controller Is Private, Your Portal Platform Is Not
Every external captive portal integration on UniFi has the same dependency: when a guest completes the portal, the platform must deliver an authorize call to your controller within a second or two. If the controller lives inside the venue behind NAT, that call has nowhere to land.
The traditional fix is port forwarding, and it is a genuinely bad default. You are exposing the management interface of your entire network to the internet, you are trusting yourself to maintain source IP restrictions forever, and if your ISP has moved you behind carrier-grade NAT, which is increasingly common, port forwarding is not even possible.
Cloudflare Tunnel inverts the problem. A small connector process inside your network opens a persistent outbound connection to Cloudflare's edge. Requests to a hostname you choose arrive at the edge and travel down that already-open connection to the controller. Nothing inbound is ever opened on your firewall, your controller keeps its private address, and CGNAT stops mattering because the connection originates from inside. The free Cloudflare plan covers everything this use case needs.
Put this guide to work
Free worksheets, campaign templates and a venue growth calculator. No email gate.
What You Need
- A domain you control, with its DNS on Cloudflare. The free plan is fine
- A machine inside the venue network that is always on, to run the connector. This can be a small server, a NAS that runs containers, or the same box that hosts a self-hosted controller. It needs outbound internet access and a route to the controller, nothing more
- Your UniFi controller: a self-hosted Network Server, a Cloud Key, or a UniFi OS console such as a UDM Pro
Step 1: Create the Tunnel
Cloudflare's dashboard-managed tunnels are the sensible route: you create the tunnel in the Zero Trust section of the Cloudflare dashboard, and it hands you a single command or container definition that runs the connector with a token. Install the connector, called cloudflared, on your always-on machine using their command, and confirm the tunnel shows as healthy in the dashboard.
Prefer the container route if the machine already runs containers; it makes updates trivial. Whatever you choose, configure it to start on boot. A tunnel that dies with a power cycle takes your portal authorization down with it, and the failure looks like a VoqadoWiFi problem when it is actually a forgotten service.
Step 2: Publish the Controller as a Hostname
In the tunnel configuration, add a public hostname:
- Hostname: something non-obvious on your domain. A random subdomain is mildly useful obscurity
- Service: the controller's local address, as HTTPS. For a classic controller or Cloud Key that is the LAN IP on port 8443. For a UniFi OS console it is the LAN IP on port 443
- Origin settings: enable the option to skip TLS verification for the origin. The controller presents a self-signed certificate, and without this setting the tunnel will refuse to talk to it. This is safe here: the hop being skipped is inside your own LAN, and the public leg is fully covered by Cloudflare's certificate
Save, wait for DNS to settle, and browse to the hostname from a phone on mobile data. You should see your controller's login page served over a valid certificate, from a controller that has no inbound firewall rules at all.
Step 3: Point VoqadoWiFi at the Tunnel Hostname
In your VoqadoWiFi location settings, set the controller URL to the new hostname on port 443, select the correct controller type, and let the connection test run. From the platform's point of view this is just a reachable controller; the tunnel is invisible. The rest of the integration is identical to the standard flows in the UniFi external portal guide and the UDM Pro guide.
Note what travels through the tunnel: only the server-side API traffic between VoqadoWiFi and the controller. Guests never touch this hostname. Their portal traffic goes straight from their phone to the portal, and their browsing goes out the venue's own internet connection as usual. Tunnel bandwidth is trivial.
The Caveats, Honestly
Do not put Cloudflare Access in front of this hostname without thinking. Access is Cloudflare's login layer, and the temptation is to wrap the controller hostname with it. But an Access-protected hostname answers API calls with an HTML login page, which breaks the authorize flow completely. If you want Access on the controller UI, the clean pattern is two hostnames to the same origin: one wrapped in Access for humans, one plain for the API, locked down as below.
Lock the hostname down at the edge instead. Cloudflare WAF rules on the free plan can restrict the hostname so that only expected source addresses reach it, and drop everything else before it ever enters the tunnel. That gives you the same protection source-restricted port forwarding promised, enforced somewhere with better tooling than a venue router.
Header behaviour is mostly a non-issue, with one edge. Cloudflare forwards requests with the original host header and adds its own forwarding headers, which the controller ignores. The one real-world edge: if you front the controller with your own reverse proxy as well, make sure nothing rewrites paths. The UniFi OS proxy prefix must arrive intact, or every Network API call 404s.
WebSockets are used by the controller UI. They work through the tunnel by default on current Cloudflare plans. If the live dashboard views ever stop updating through the tunnel hostname, check that WebSocket support has not been disabled on the zone.
The tunnel is now part of your uptime story. If cloudflared stops, guests stop getting authorized. Treat it like infrastructure: run it as a supervised service, keep it updated, and if the venue cannot tolerate a single point of failure, run a second replica on another machine. Cloudflare sends each request to the nearest replica and retries another if that connection fails (Cloudflare tunnel availability docs). A second replica on the same power strip buys you little.
Why This Beats the Alternatives
Against port forwarding: no exposed management plane, no dependence on a static venue IP, works behind CGNAT, and the edge filtering is centrally managed. Against a full VPN between venue and cloud: radically less to build and maintain, and no shared network trust, just one hostname to one service. Against moving the controller to a VPS: that is a genuinely good option for multi-venue operators, covered in the central UniFi server guide, but it is a bigger architectural change than a venue with working local hardware needs.
For a single venue with an existing controller, the tunnel is roughly 30 minutes of work on Cloudflare's free plan, and it removes an open management port from your network entirely. When not to bother: if your controller already lives on a VPS with a locked down firewall, a tunnel adds a moving part without removing one. For the consent side of the portal, see the compliance overview.
Once the controller is reachable, the marketing side takes minutes. Create a free account, add the location, and run your first end-to-end guest login the same afternoon.
Get the free Guest WiFi Growth Kit
A diagnostic worksheet, signage copy guests can follow, a campaign brief and a monthly scorecard. Yours to print and share with your team.
Share this article